Removing unwanted objects and texts from an image to remove clutter from your photos used to require specialized equipment and knowledge, but nowadays, AI has resulted in tools like Content-Aware fill in Photoshop that lets anyone accomplish this task with only a couple of clicks. If you don’t have a Photoshop subscription, there’s a Web and mobile application named AILabTools Image Erasure you can use.

This article provides a step-by-step guide on utilizing AILabTools Image Erasure to effortlessly take things like individuals, objects, deformities, and text from photos in only two clicks.
An Introduction to AILabTools Image Erasure
In photography, it’s important to strike a delicate balance between elements you want to incorporate into your photograph and those you’d prefer to eliminate. Enhancing your photography expertise requires paying careful attention to this balance. However, it’s often difficult to create the perfect composition. There are always inexplicably artifacts like background objects or people, which distract from the photograph’s principal purpose. There are, fortunately, powerful tools like AILabTools Image Erasure that can help with post-processing these images.
The user-friendly interface is evident if you are the first to visit the site. However, if you’d like to start right away, it is easy to upload an image directly from the homepage screen of the website by dragging and dropping or looking through your files.

If you don’t have an image but you still want to test its functionality, AILabTools Image Erasure has a few example images available for you to test with. In addition, it comes with speedy, powerful removal capabilities.
How To Use the AILabTools Image Erasure for Remove Objects From Photos
Let’s look at how the Web application could be used to eliminate the fence in this photo of a landscape:

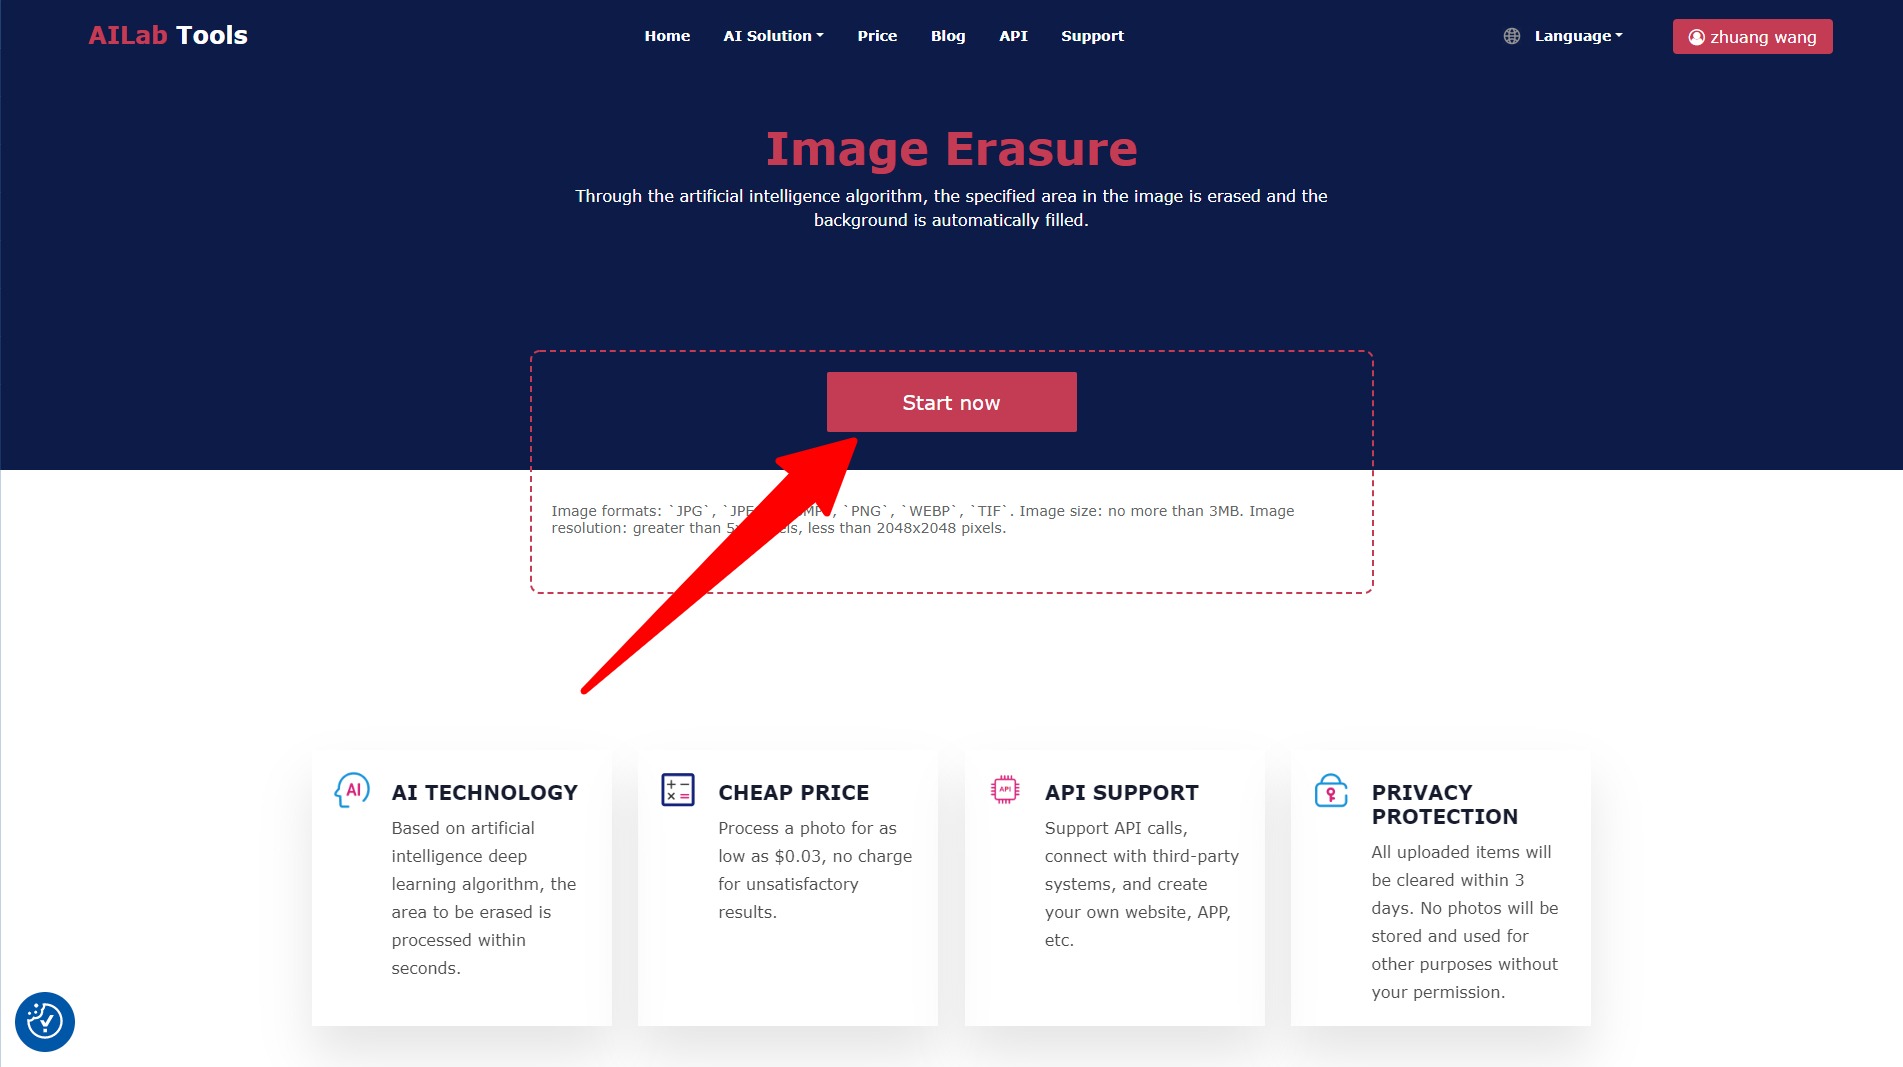
Step 1. Go to the simple URL AILabTools.com.
Step 2. Find the box that reads “Start Now.”
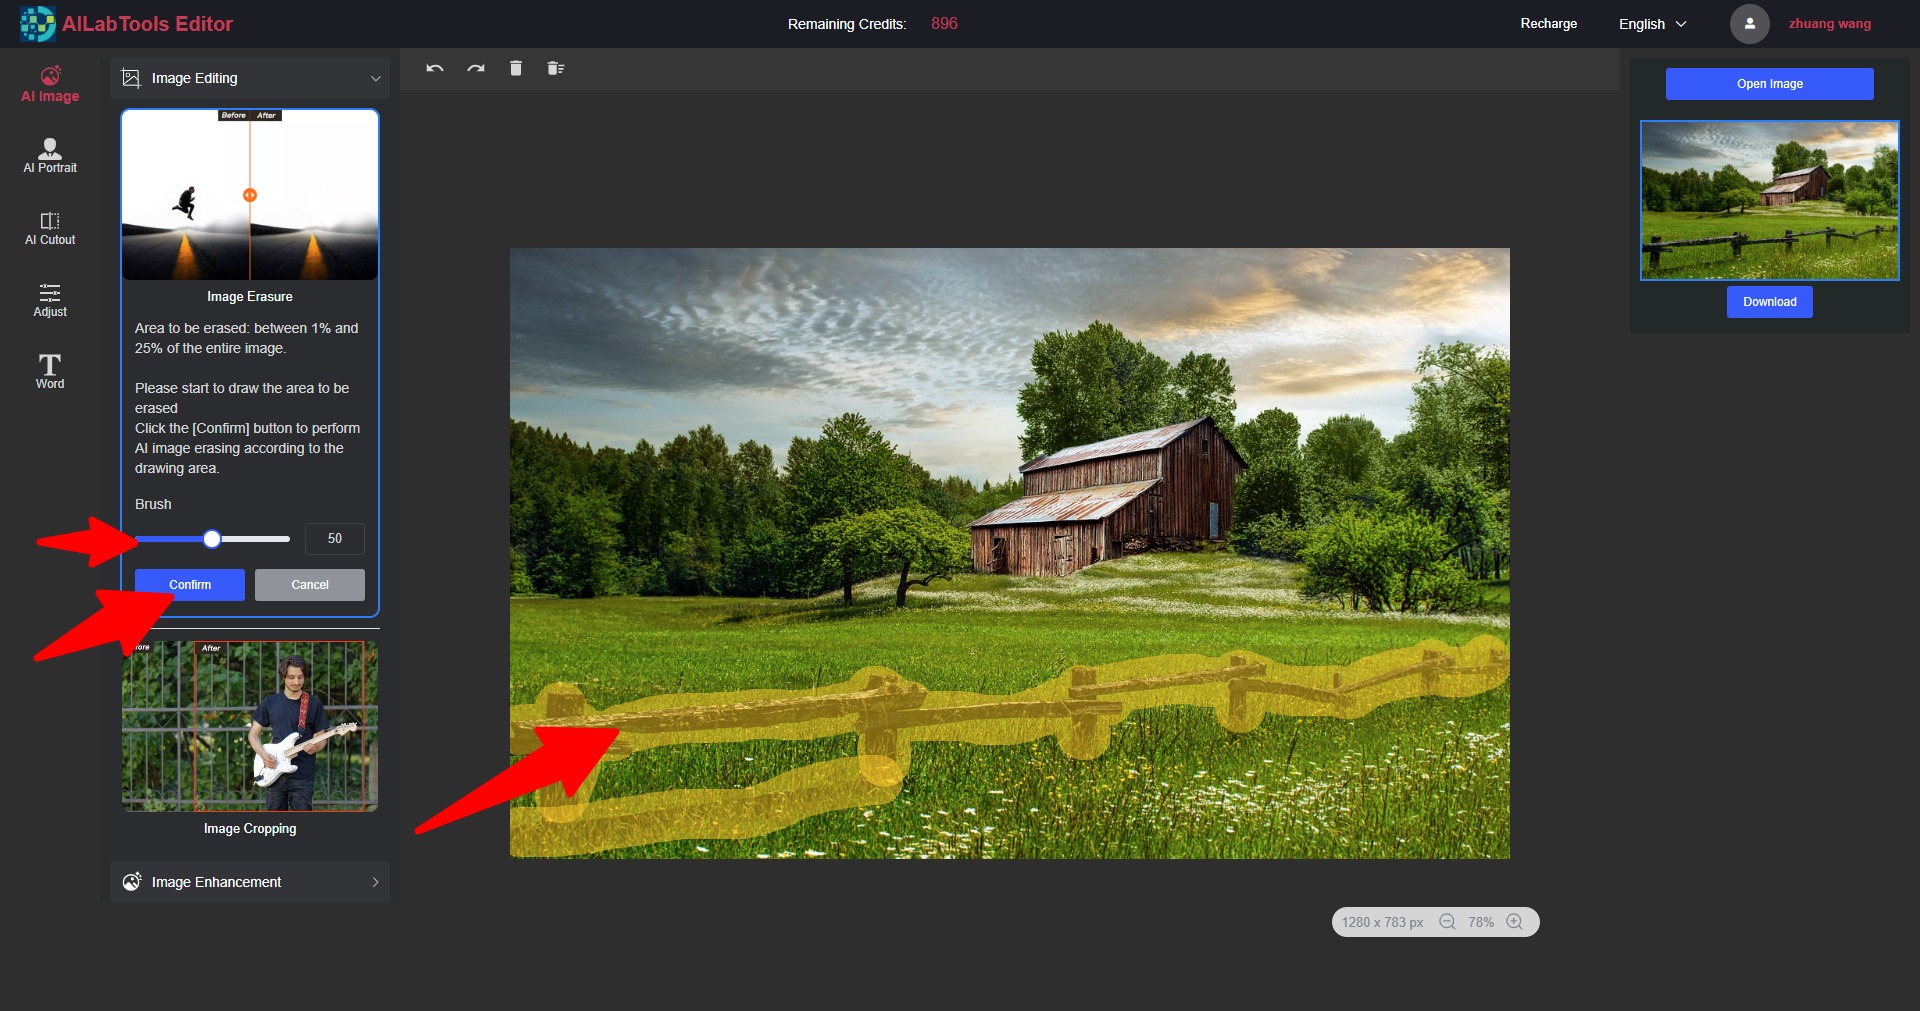
Step 3. After you’ve uploaded your photo, The brush module will be open. You can alter how big your brush appears. Zoom into to refine smaller objects.
Step 4. Choose a brush size appropriate to the component you’d like to eliminate. In general, it’s recommended to use one slightly larger than the minimum dimension of the component you’re taking out, but you’re free to play around to discover the best size.
Step 5. Apply paint across the element(s) you’d like to get rid of, and wait for the AILabTools editor to perform its magic. The removal procedure could take just a few minutes.
Step 6. Review the results. If you’re not satisfied with the results, hit the “Undo” button next to the size of the brush module. Try making a bigger than a smaller number of elements you’d like to eliminate until you get results that you are happy with. Be aware that certain elements are more difficult to choose and eliminate than other elements (i.e., removing a blue dot from the white background is more straightforward than removing the watch off someone’s wrist).
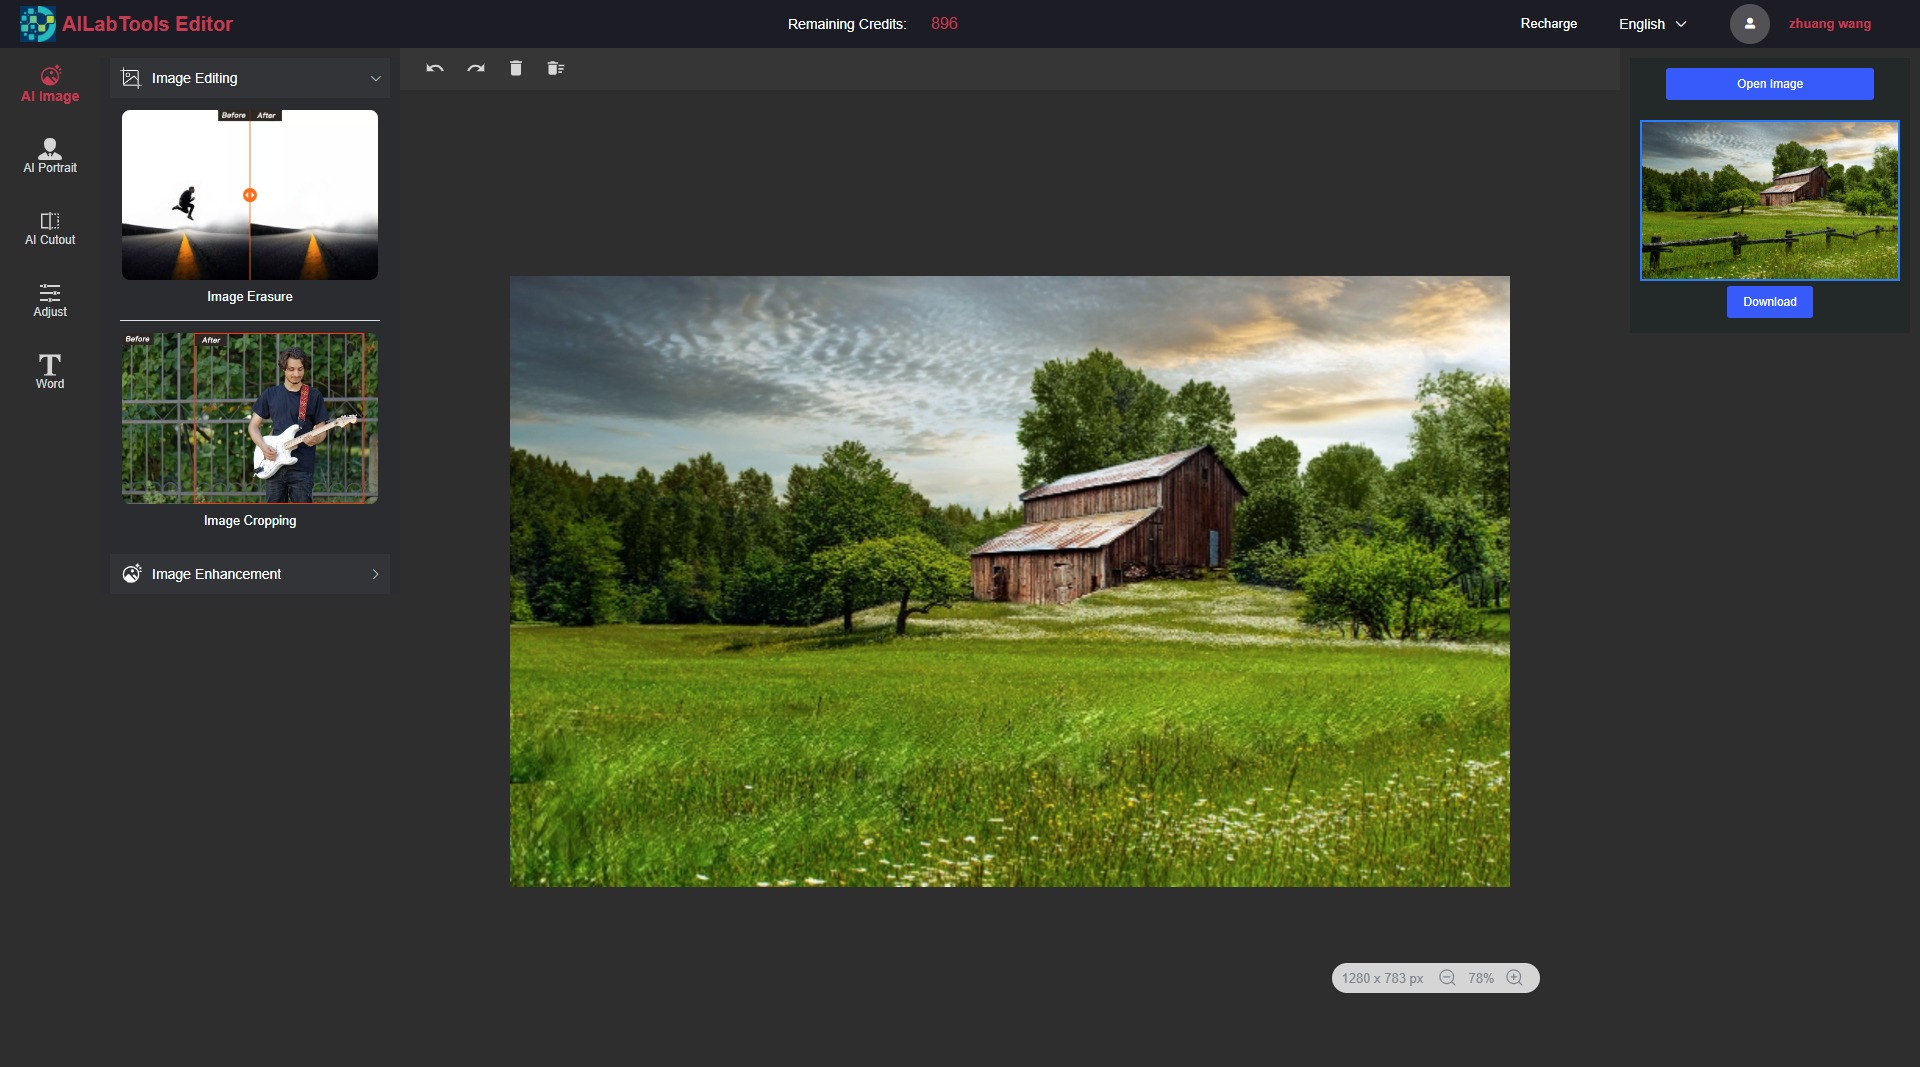
Step 7. Once you’ve finished removing the elements, click “Download” button in the upper right-hand corner to download your photo.
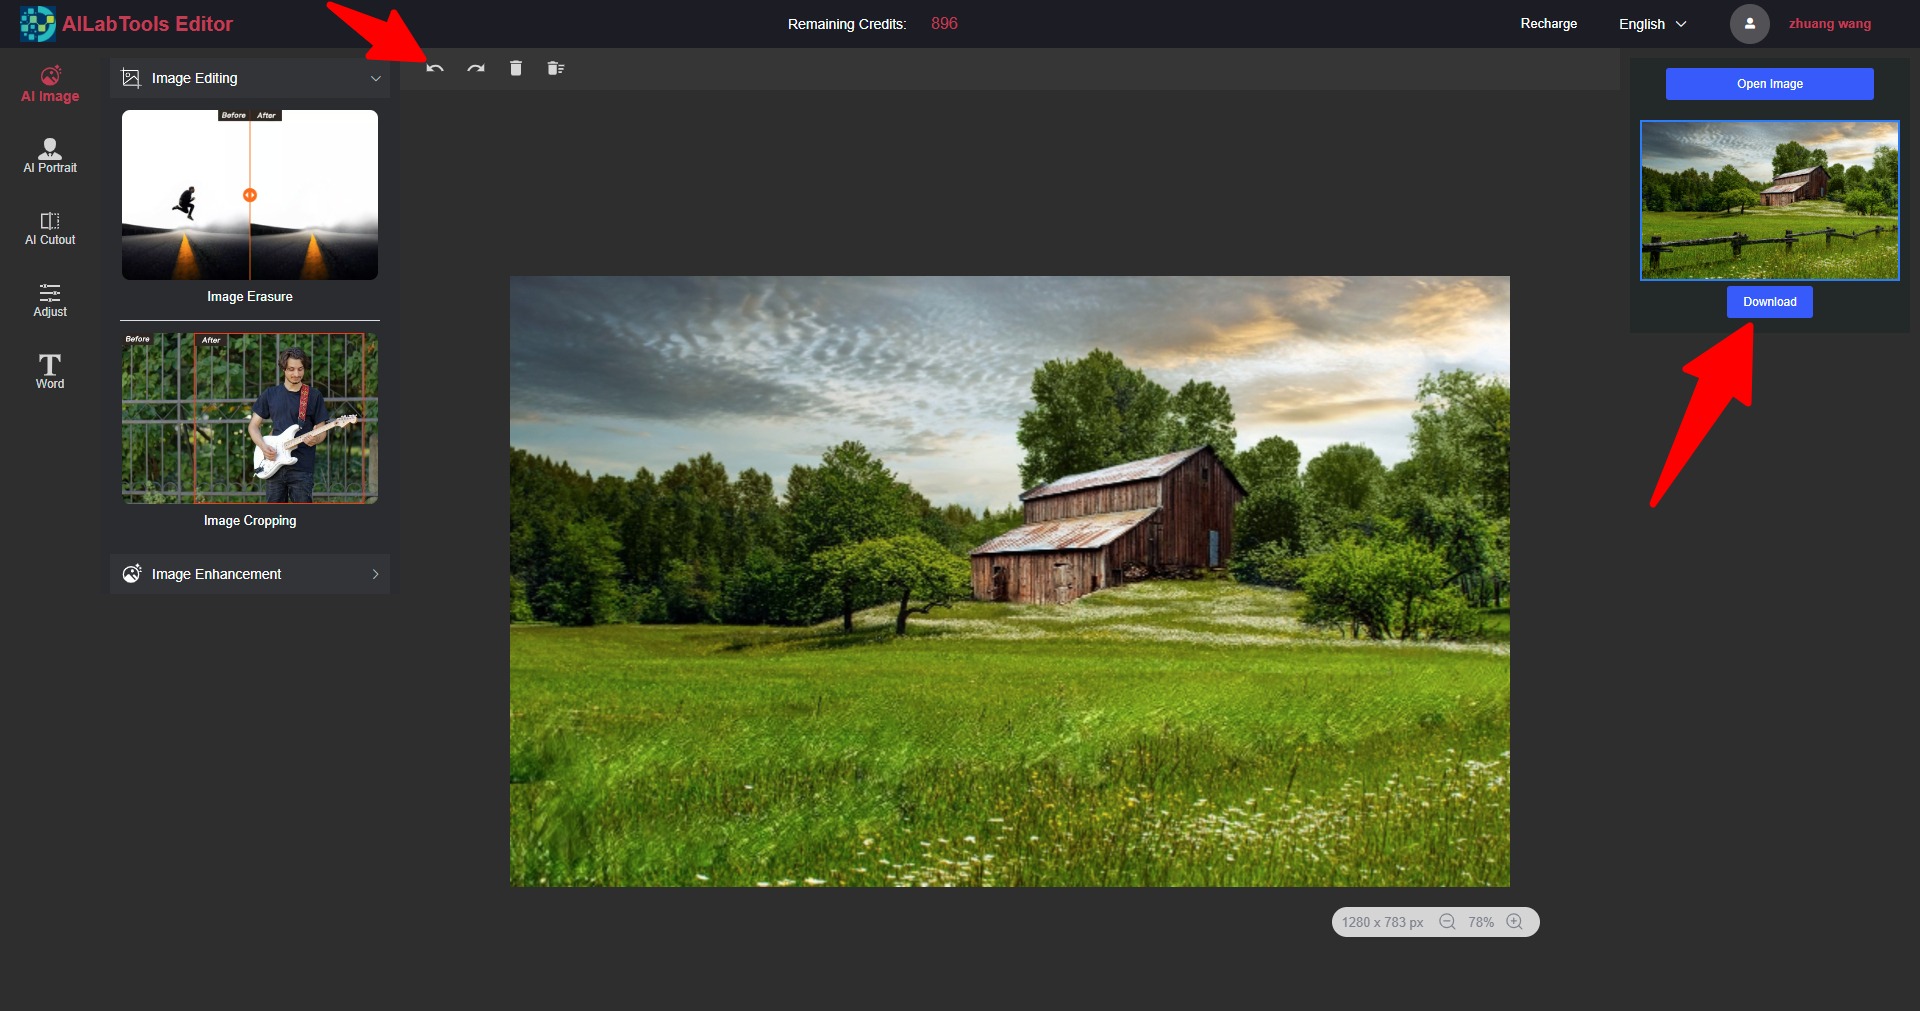
Here’s a before and after photo:
AILabTools Image Erasure did a fantastic job in removing fencing in the photo and only two selections to achieve a stunning result. Zooming was a huge help in this instance and allowed the specifics on the fence’s structure to be picked.


